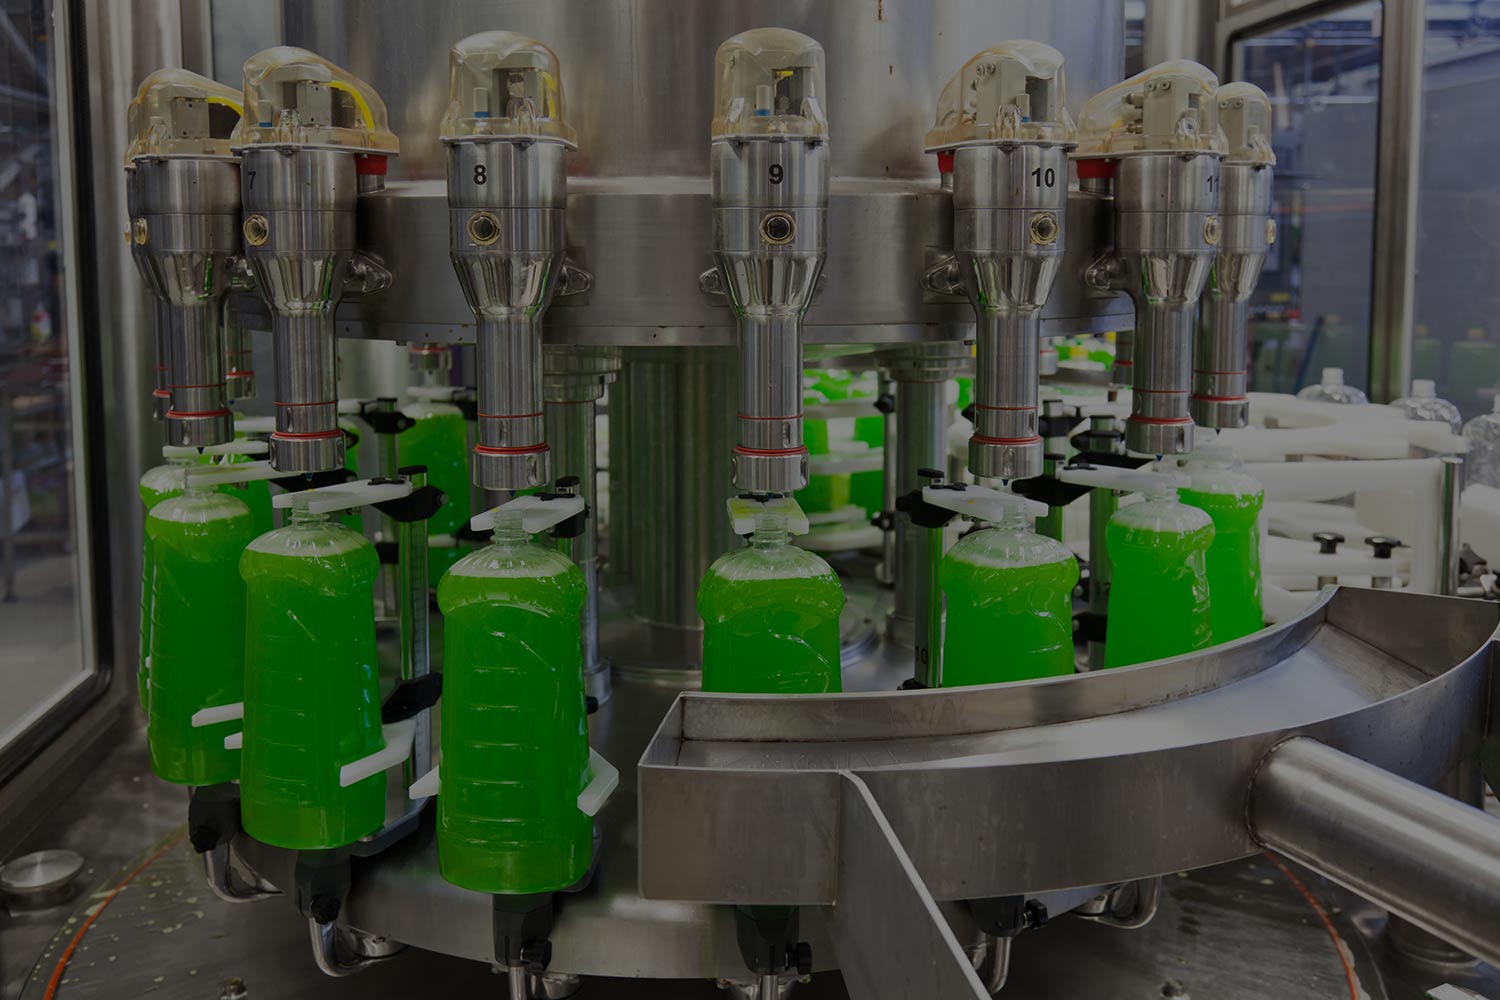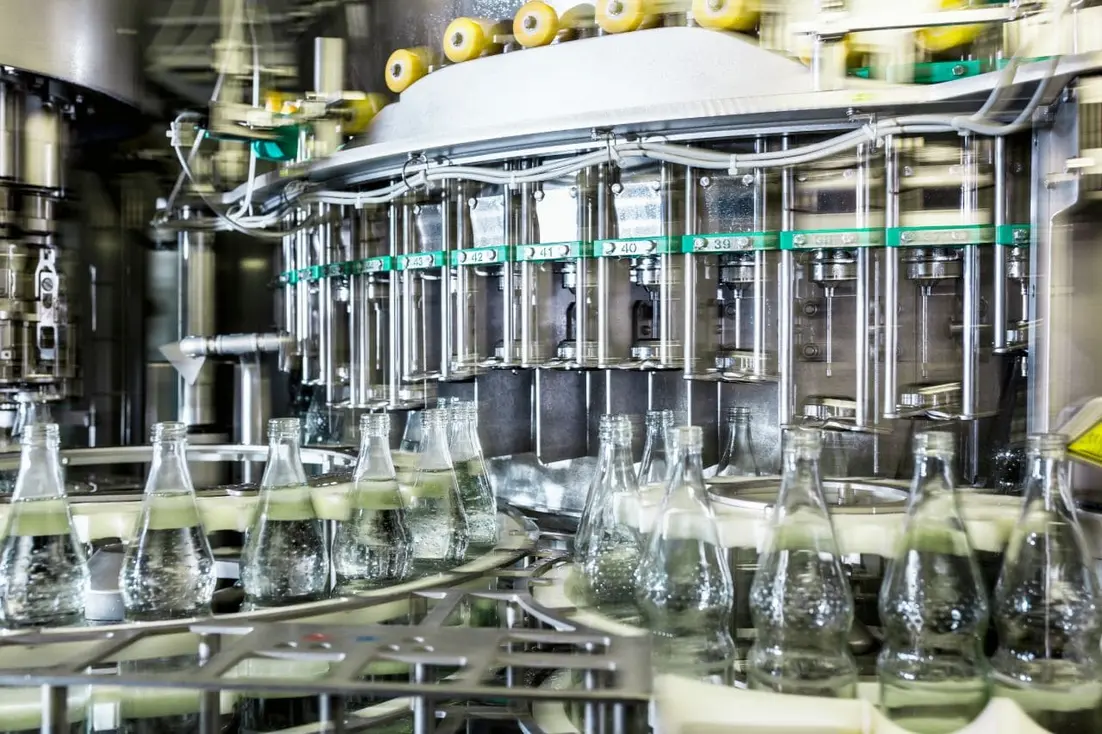
An automatic beverage machine that consistently dispenses below target should not be corrected by immediately increasing the fill setpoint. First confirm that the apparent shortage is real, determine whether it affects every fill head or only selected heads, and separate a machine error from a product, container, or measurement problem. This approach prevents a local fault from being hidden by a global adjustment.
For beverage filler underfilling calibration, the practical sequence is: verify fill volume with a suitable method, review the active recipe and machine conditions, identify the failure pattern, inspect the relevant supply and filling components, then recalibrate only after the cause is controlled. A stable machine can be calibrated; a machine with changing pressure, flow, foam, or valve performance cannot hold calibration for long.
Start by defining the underfill pattern
Before changing settings, collect a small, representative set of containers under normal operating conditions. Record the intended fill, actual measured fill, time, product temperature if relevant to the process, line speed, active recipe, and filler-head number or position.
The pattern usually narrows the investigation:
| Observed pattern | More likely cause areas | First checks |
|---|---|---|
| All containers are low by a similar amount | Wrong recipe, setpoint, common calibration offset, common supply limitation | Recipe selection, target parameter, fill timing or volume setting, common product supply |
| One or several heads are low | Individual nozzle, valve, flow path, cylinder, sensor, or head-specific setting | Compare results by head, inspect and clean affected heads |
| Fill varies widely from container to container | Unstable product supply, air ingress, foaming, inconsistent container presentation, sensor or control instability | Supply pressure or level, pump behavior, container handling, repeatability |
| Underfill occurs after a product, package, or speed change | Incorrect changeover settings, product behavior, unsuitable fill profile | Recipe, container dimensions, nozzle position, speed and ramp settings |
| Underfill grows during the run | Supply depletion, fouling, temperature change, drifting pneumatic or pump performance | Trend fill results, inspect filters and strainers, check utilities and product conditions |
A visual low-fill condition can be misleading. Bottle geometry, shoulder shape, label placement, foam, and container orientation can make a normal net quantity appear low. Verify the actual quantity before treating a visible level difference as a filler fault.
Verify fill volume before adjusting the machine
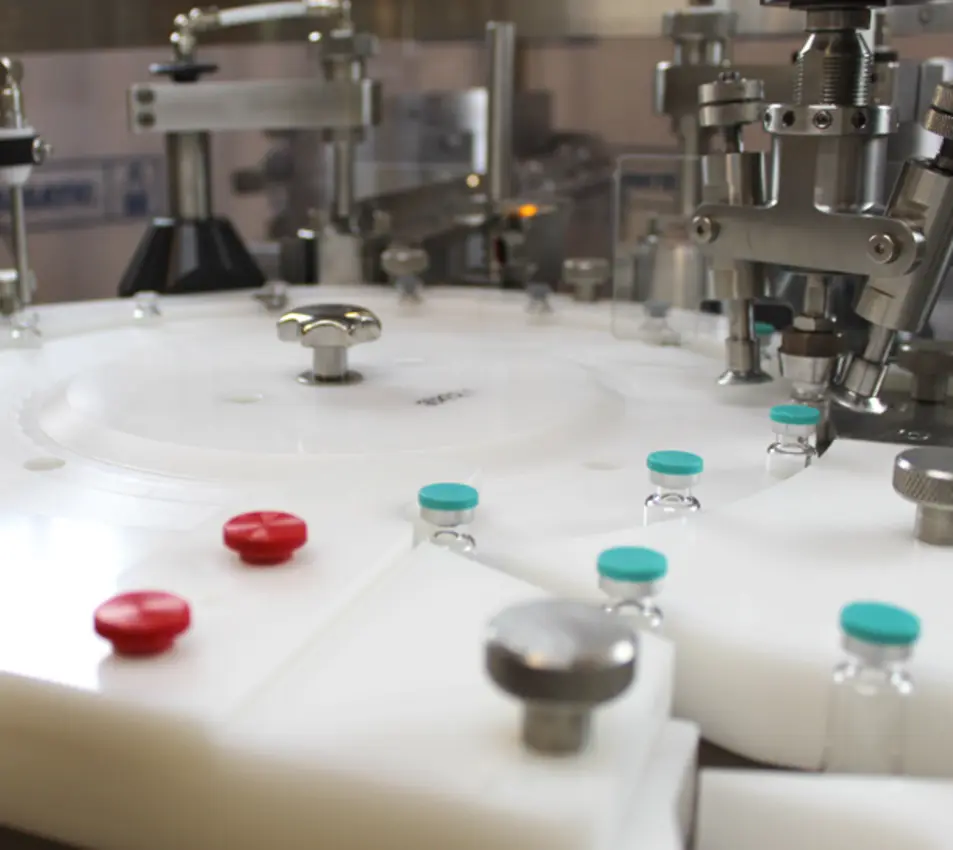
The verification method must match the product and the declared quantity basis. If the operation controls fill by mass, use a suitable scale and account for tare weight. If it controls by volume, use a verified volumetric method or a validated mass-to-volume conversion based on the product’s applicable density and measurement conditions.
Source: filamatic
For packaged liquids, measurement details matter. NIST Handbook 133 describes procedures for checking net contents and notes that volumetric measures may require different preparation depending on whether they are calibrated “to deliver” or “to contain.” It also highlights special handling concerns for foaming or carbonated products. Review the relevant procedure before using a volumetric check as a calibration reference: NIST Handbook 133.
Use these basic verification controls:
- Sample from across the run rather than from a single container.
- Identify the fill head for every sample where the machine has multiple heads.
- Use the same container and closure condition intended by the site procedure.
- Allow foam to dissipate only according to the established verification procedure; do not compare a freshly foaming bottle with a settled reference without a defined method.
- Confirm that scales, volumetric vessels, density data, and tare values are appropriate for the check.
- Compare results with the site’s target, tolerances, and applicable package requirements rather than using a casual visual judgment.
If the check method is inconsistent, solve that problem first. Repeatedly adjusting a filler against poor measurements can create both underfills and overfills.
Check the recipe, setpoint, and operating state
A surprisingly common cause of automatic beverage machine underfill is an incorrect active setting rather than failed hardware. Confirm that the correct product and package recipe is loaded, especially after changeover, restart, maintenance, software updates, or manual intervention.
Review the parameters that actually control the machine’s fill method. Depending on the equipment, these may include:
- Volumetric dose or piston stroke
- Flowmeter target and cutoff behavior
- Fill time and valve-open time
- Tank, bowl, or product manifold level
- Pump speed or pump stroke
- Slow-fill, final-fill, or cutoff profile
- Nozzle height, dive position, or container-present setting
- Line speed and machine synchronization
Do not assume that a displayed value is the value currently applied to every head. Some systems use head-specific offsets, stored recipes, or manual adjustments that can remain after a prior product run.
Also check whether the machine is operating in a reduced-speed, manual, recovery, or fault-handling state. A filler may use different timing or control logic during startup and after a stop. If underfill appears only during these conditions, focus on the transition sequence rather than the normal production recipe.
Inspect product supply and product behavior
A filler needs a stable product supply to produce repeatable doses. If the liquid entering the filler changes in pressure, level, viscosity, entrained-air content, or temperature, the delivered quantity can change even though the setpoint is correct.
Check the common supply path for these conditions:
- Low or unstable product level in a feed tank or filler bowl
- Restricted filters, strainers, hoses, valves, or product passages
- Pump speed fluctuation, worn pump components, or inconsistent pump priming
- Air leaks on the suction side or air trapped in product lines
- Cavitation, pulsation, or intermittent loss of product supply
- Product foaming caused by excessive turbulence, unsuitable fill speed, or gas release
- Product-property changes associated with the approved production process
For level-controlled systems, bowl or tank level is particularly important. Inadequate level control can affect flow and lead to short fills. Industrial filler controls commonly use level sensing to help maintain smooth product flow and avoid underfill or overflow conditions.
Where product changes are suspected, compare actual fills at the beginning, middle, and end of the run. A gradual shift points more strongly to supply, temperature, fouling, or product-condition variation than to a static calibration offset.
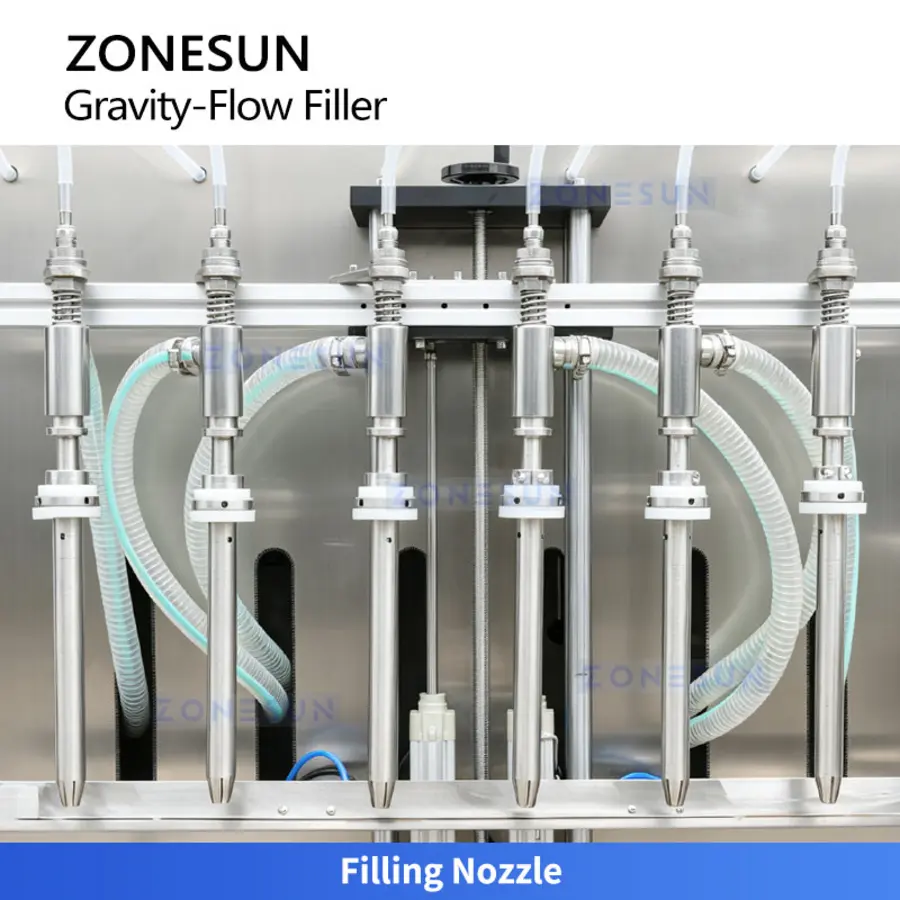
Inspect individual filling heads and valves
When only certain bottles are low, do not recalibrate the complete machine first. Compare the affected head with a normally performing head and inspect the local flow path.
Source: zonesunpro
Typical head-specific causes include:
- Partial nozzle blockage or product buildup
- Misaligned nozzle or damaged nozzle tip
- Sticky, worn, or slow-closing filling valve
- Leaking seals or damaged valve seats
- Restricted head-specific tubing or fittings
- Air-actuated valve problems, including inadequate or unstable air supply
- Faulty actuator, solenoid, position feedback, or head sensor
- Incorrect head-specific offset or mechanical adjustment
Follow the equipment manufacturer’s lockout, sanitation, and disassembly instructions. Do not bypass container-detection devices, interlocks, reject systems, or pressure protections to keep production moving. If the inspection requires opening product-contact components, use the site’s approved cleaning and reassembly process before returning the head to service.
A useful diagnostic is a head map: arrange measured fills in the same physical order as the filling heads. A repeated low result at one position is strong evidence of a localized mechanical or control issue. A random pattern across positions is more consistent with supply instability, foam, container handling, or measurement variation.
Calibrate only after the process is stable
Volumetric filling calibration should be performed with the correct product or a validated equivalent, the intended container, normal production settings, and stable utilities. Calibration done with water, a different container, or an unrepresentative speed may not transfer accurately to the production condition.
A controlled calibration sequence is:
- Confirm the recipe, product supply condition, line speed, and container format.
- Run enough containers to establish a repeatable baseline by head or filling station.
- Determine whether the deviation is common to all heads or limited to specific positions.
- Correct mechanical, supply, or sensor faults before changing calibration values.
- Make the smallest permitted adjustment to the relevant parameter or head offset.
- Run a new verification sample under the same conditions.
- Document the adjustment, results, operator, date, product, package, and machine state.
Avoid using a single container as the basis for a change. One sample may reflect foam, scale handling, an unstable cycle, or a container issue rather than true filler performance.
If all heads are consistently low and the supply is stable, a common setpoint or calibration factor may need adjustment. If only one head is low, correct or calibrate that head instead of raising the entire machine target. Raising a global setpoint to compensate for one weak head can push the other heads high and increase giveaway or overflow risk.
Check sensors and controls when the machine does not repeat
A filler that alternates between acceptable and low fills may have a control or detection issue rather than a simple calibration problem. Review alarms, trends, and machine diagnostics before replacing parts.
Key checks include:
- Is the container-present sensor reliably detecting every container?
- Are containers positioned consistently under the nozzle?
- Does the fill valve receive the expected open and close command?
- Is feedback from a flowmeter, level sensor, encoder, or valve-position sensor plausible and stable?
- Are pneumatic pressure and electrical connections stable during production?
- Did the fault begin after a washdown, changeover, impact, or maintenance task?
Inspect cables, connectors, sensor faces, mounting brackets, and pneumatic fittings for contamination, looseness, damage, or misalignment. A sensor can be functional during a static test but unreliable at production speed because of vibration, moisture, reflective packaging, or inconsistent container spacing.
When to stop and involve qualified support
Escalate the problem when underfilling cannot be verified consistently, product supply conditions remain unstable, a valve or pump requires internal repair, or the machine controller reports recurring faults. Qualified technical personnel or the equipment supplier should also be involved when changes affect protected parameters, flowmeter configuration, servo motion, pressure systems, or validated package settings.
Hold or manage potentially affected product according to the site’s quality procedure if there is a credible net-content concern. The production response should be based on verified results and the operation’s established release requirements.
Prevent recurring underfills
The best prevention program combines routine verification with trend review. Record fill results by head, not merely as one line average. An average can look acceptable while one valve is steadily deteriorating.
Include the following in routine operating and maintenance plans:
- Startup checks after product and package changeover
- Scheduled fill-volume verification at defined production intervals
- Inspection and cleaning of nozzles, product filters, strainers, and valves
- Monitoring of product level, pump performance, and utility pressure
- Review of reject data, low-fill alarms, and head-specific trends
- Controlled recipe management and documented parameter changes
- Periodic confirmation that measurement tools remain suitable for the verification method
Underfilling is usually easier to correct when operators treat it as a pattern-recognition problem: confirm the measurement, identify whether the deviation is common or head-specific, stabilize the process, and then calibrate the correct control point. That sequence reduces unnecessary adjustments and makes the final setting more likely to hold through the production run.
FAQ
Should operators increase the filler setpoint as soon as low fills appear?
No. First verify the fill using an appropriate method and determine whether the issue affects all heads or only selected heads. A global setpoint increase can conceal a local fault and create overfills elsewhere.
Why does a beverage filler underfill only after a changeover?
The active recipe may be wrong, a head setting may not have been returned to its proper position, the container may not be correctly presented, or the new product may require a different fill profile. Review both the recipe and the mechanical change parts.
Can foam cause apparent underfilling?
Yes. Foam can distort visual level checks and can complicate volumetric verification. Use the site’s defined sampling and measurement procedure, particularly for carbonated or foaming beverages.
What does it mean if one filling head is always low?
It usually indicates a localized issue such as a restricted nozzle, valve fault, air-actuation problem, local sensor issue, or incorrect head-specific adjustment. Compare that head directly with a normal head before changing the overall machine calibration.
References
- How to Troubleshoot Common Water Filling Machine Issues. (n.d.). https://www.sunswell.com/news/how-to-troubleshoot-common-water-filling-machine-issues.html
- Ensure Consistent Fill Level With Automatic Filling Machines. (n.d.). https://www.tdipacksys.com/blog/ensure-consistent-fill-level-with-automatic-filling-machines
- NIST Handbook 133 Checking the Net Contents of …. (n.d.). https://mulchandsoilcouncil.org/membership/pdf/w_m/4_nist_hb133_2011_final.pdf
- Liquid Filling Machine Troubleshooting: Solutions for Common Problems - E-PAK Machinery. (n.d.). https://www.epakmachinery.com/blog/liquid-filling-machine-troubleshooting
- NIST Handbook 133 Checking the Net Contents of …. (n.d.). https://tsapps.nist.gov/publication/get_pdf.cfm?pub_id=904047
- 2023 NIST Handbook 133 Checking the Net Contents of Packaged Goods. (n.d.). https://www.nist.gov/system/files/documents/2023/02/10/2023%20NIST%20Handbook%20133.pdf
- How to Calibrate a Monoblock Filling Machine for Accuracy. (n.d.). https://www.brenufilling.com/how-to-calibrate-a-monoblock-filling-machine-for-accuracy
- Food and beverage automation | Bottle filler. (n.d.). https://www.ifm.com/us/en/shared/machine/food-and-beverage/bottle-filler