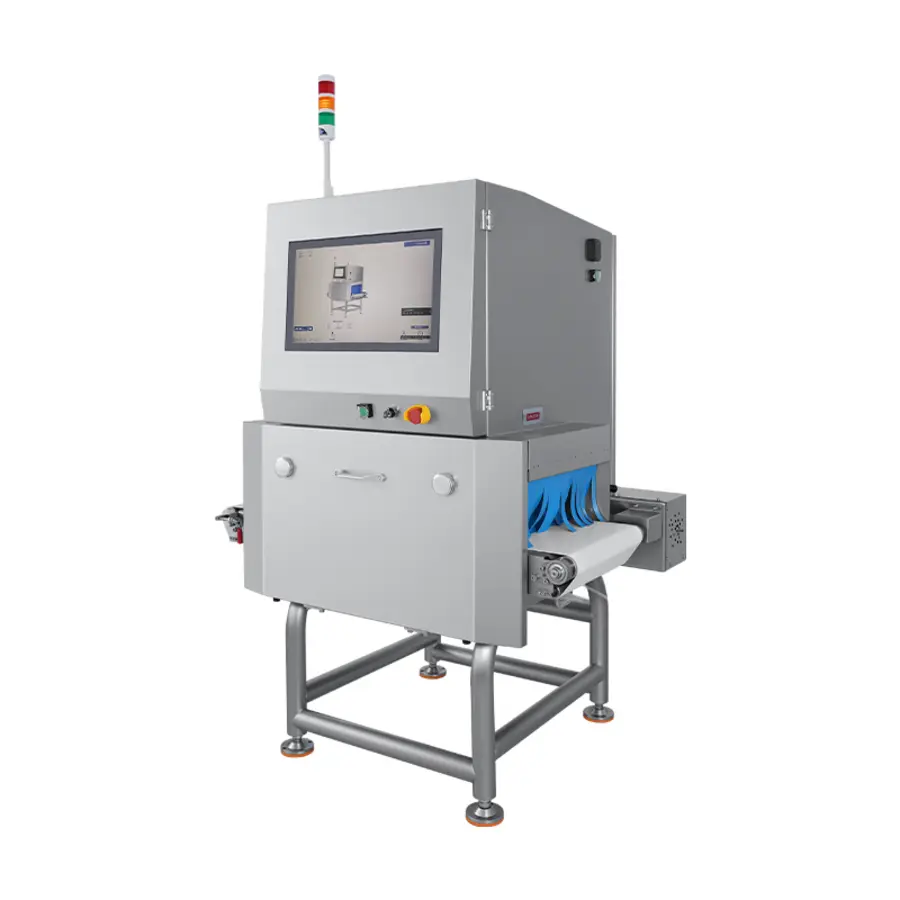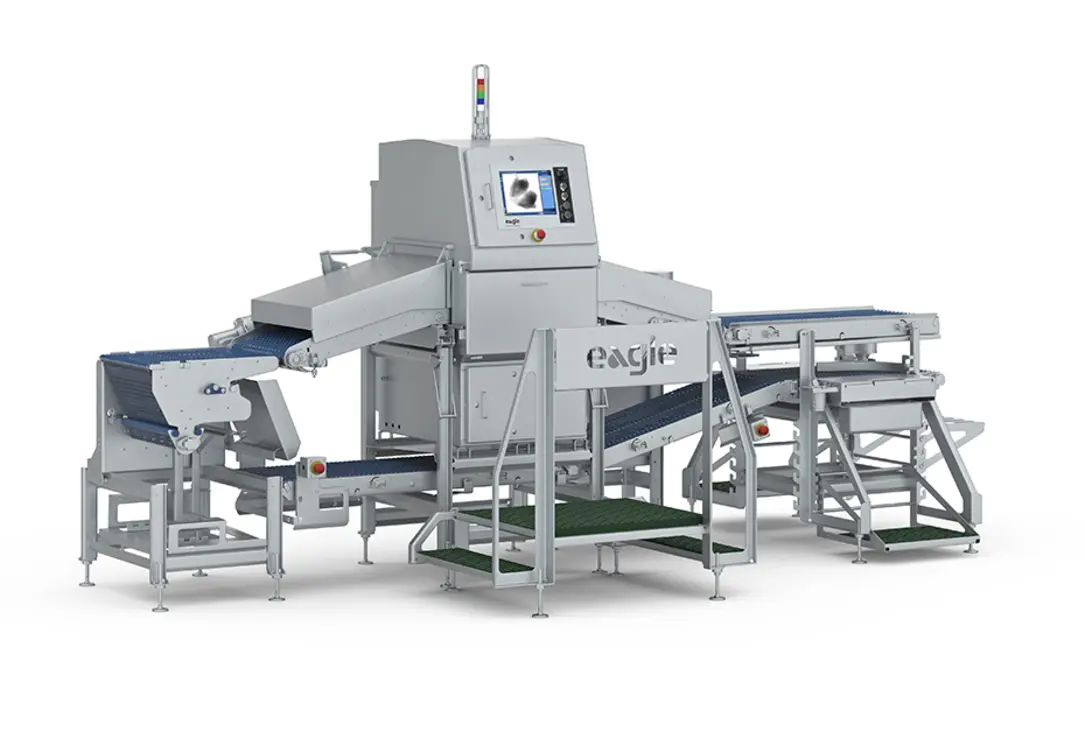
Food X-ray glass detection can be an effective control for finding glass fragments in food, including products packed in glass containers. It is not, however, a universal promise that every piece of glass will be found. Detection depends on the contrast between the fragment and everything else in the X-ray image: the food, package, closures, container walls, product position, and normal variation from pack to pack.
The practical question is therefore not simply, “Can an X-ray machine detect glass?” It is, “What is the smallest and most difficult glass fragment this specific system can reliably detect in this specific product, package, and line condition?” That answer should come from documented, product-specific validation rather than a sensitivity figure from a brochure.
How X-ray inspection finds glass
An X-ray inspection system creates an image based on how much X-ray energy is absorbed as it passes through a product. Materials that absorb more energy appear differently from less-absorbing surrounding material. Glass is generally denser than many foods and can therefore create useful contrast in the image.
Image-processing software evaluates that image against configured rules. When it identifies an object or area outside the accepted pattern, the system can signal an alarm, stop the line, or activate a reject device. The rejected product should be handled under the site’s documented corrective-action procedure.
X-ray inspection can also find several other dense foreign materials, such as metal, stone, mineral material, calcified material, and some dense plastics or rubber. It is not a substitute for every foreign-material control. Low-density films, wood, insects, hair, and other materials with limited contrast against the food may be difficult or impractical to detect with X-ray technology.
Why glass detection performance changes
A glass fragment is not detected only because it is glass. Its detectability is shaped by the full inspection situation.
Product density and thickness
Dense or thick products absorb more X-ray energy before the beam reaches the detector. This reduces the contrast available to distinguish a fragment. A thin layer of a uniform product may produce a relatively clean image, while a deep, dense, or highly variable product can create a more complex background.
For example, a fragment may be easier to distinguish in a consistent product than in a pack containing mixed ingredients, overlapping pieces, inclusions, or irregular voids. The difficult condition is usually the one that matters for validation, not the best-looking image.
Product uniformity and distribution
Uniform products offer a more predictable image. Products with nuts, seeds, particulate ingredients, bone-like structures, uneven topping distribution, or layered components can create features that resemble foreign material or obscure it.
Product presentation matters as well. If a product can move, settle, overlap, or change profile on the conveyor, the X-ray image can vary. A validation plan should include realistic positions and fill patterns, including the conditions most likely to challenge detection.
Fragment size, shape, and orientation
A small, thin, or elongated fragment may produce less image contrast than a compact fragment of the same material. Orientation can be important: a piece presented edge-on may have a shorter X-ray path than when lying flat, making it harder to see.
This is why a single test piece placed in one convenient orientation does not establish full performance. The test challenge should reflect credible glass hazards from the process, packaging, and maintenance environment.
Package material and package features
Many common package materials can be inspected by a conveyor X-ray system, but package construction affects the image. Closures, seams, folds, trays, labels, product overlap, and package voids can all influence the inspection task.
Metallized materials and foil features can be especially challenging because they create strong absorption patterns. Glass containers create a separate and demanding application: the system must differentiate a potential glass fragment from the bottle or jar itself.
Glass-in-glass inspection
Inspecting food in glass jars or bottles is possible, but it requires application-specific design and setup. Container bases, shoulders, seams, and varying wall thickness can create areas of high absorption. Natural variation in container glass composition or thickness can also alter the image.
A fragment close to the container wall or base may be much harder to identify than one suspended in a relatively clear product area. Purpose-designed container inspection systems may use multiple views or specialized image analysis to reduce blind areas. The relevant question is not whether a system is labeled for glass containers, but whether it has demonstrated reliable detection in the actual container, closure, fill level, and product format.
Detection limits are application limits, not machine limits
Suppliers may describe sensitivity using a particular test material, product, package, speed, and orientation. That figure can be useful for an initial discussion, but it should not be treated as the detection limit for every product on a site.
A meaningful food X-ray glass detection limit is an approved operating limit for a defined application. It should specify the relevant product and pack format, the inspection location, line speed range, test-piece characteristics, orientation or position conditions, and expected reject response.
The limit also needs a clear pass/fail definition. A machine that detects a test piece but fails to remove the correct pack consistently has not demonstrated an effective control.
Building a practical validation test
Validation establishes that the selected system and configuration can detect and reject the defined test challenge under intended operating conditions. It should be planned with the food-safety team, quality team, engineering personnel, and the equipment supplier or qualified service provider as appropriate.
1. Define the credible hazard
Start with the glass risk assessment. Consider likely sources such as breakage from glass packaging, sight glasses, gauges, light fixtures, laboratory items, or maintenance activity. The likely source helps define the material type, expected fragment form, and potentially difficult product locations.
Do not assume that a generic test piece represents every hazard. A site should determine whether its test material is appropriate for its documented risk assessment.
2. Select representative products and packs
Validate each meaningful product-package combination, or establish a documented rationale for grouping equivalent applications. Key differences may include product depth, density, ingredient variability, package dimensions, container type, closure design, and inspection orientation.
Include normal production variation where it could affect performance. For filled packs, this may include expected fill-level variation and product distribution. For glass containers, include the container types and suppliers used in normal production when those variables materially change the image.
3. Challenge difficult locations and orientations
Test pieces should be run through locations where detection is expected to be most difficult, not only through the center of a clear product area. For a pack, this may include edges, seals, thick product zones, overlap areas, and locations near package components. For jars and bottles, challenging zones can include areas near the base, sidewall, shoulder, and closure region.
Where orientation affects the hazard, test more than one orientation. Document what was tested so the resulting limit is not overstated.
4. Run at actual operating conditions
Validation should reflect the planned line speed, product spacing, package orientation, and reject timing. If inspection settings or line conditions change materially, assess whether revalidation is needed.
Verify the complete function: detection, decision, reject activation, physical removal, reject-bin control, and handling of rejected packs. A correctly identified pack that remains on the production line is a control failure.
5. Record the result and set routine checks
The record should identify the product, package, X-ray program, test-piece description, placement, line conditions, results, reject verification, date, and responsible personnel. The approved outcome becomes the basis for routine performance checks.
Routine checks are not a replacement for validation. They confirm that the validated control continues to operate as intended between formal reviews. The frequency, test locations, response to a failed check, and product-hold procedure should be defined in the site’s food-safety plan and verified against applicable customer, certification, and regulatory requirements.
Common reasons a glass test fails
When a previously acceptable X-ray inspection test begins to fail, avoid immediately reducing sensitivity thresholds without understanding the cause. Lowering thresholds can increase false rejects and may still not solve a genuine imaging problem.
Investigate these areas first:
- Product change: A new recipe, ingredient distribution, fill level, or product temperature condition may change image density or variation.
- Package change: Different glass containers, closures, labels, trays, or film structures can alter absorption patterns.
- Mechanical presentation: Product position, conveyor stability, spacing, or guide-rail settings may have changed.
- Test-piece method: The test piece may be damaged, misplaced, incorrectly oriented, or no longer representative of the approved challenge.
- System condition: Detector performance, shielding, conveyor tracking, reject timing, calibration status, or software configuration may require qualified review.
- Program selection: The incorrect product recipe or inspection program may be active after a changeover.
A failed verification should trigger the documented escalation and product-disposition process. Do not bypass the inspection system, disable rejects, or continue production on the assumption that a later check will resolve the issue.
X-ray inspection versus metal detection for glass risk
Metal detection remains useful for metallic contaminants and can be a practical control in many lines. It does not provide a reliable method for detecting glass. Where glass, stone, bone, calcified material, or other dense nonmetal hazards are part of the risk assessment, X-ray inspection may provide broader coverage.
That broader coverage does not mean X-ray should replace upstream prevention. Glass and brittle-plastic control, container handling practices, breakage response, equipment maintenance, and line clearance remain important. Inspection is best treated as one validated layer within a wider foreign-material control program.
A defensible approach to food X-ray inspection validation
The strongest food X-ray inspection program makes a limited, evidence-based claim: this system, on this line, under these defined conditions, can detect and reject the specified glass test challenge. It does not claim that all glass fragments will always be found.
Before releasing an application, document the credible hazard, validate under representative worst-case conditions, verify reject performance, and establish routine checks with clear actions for failures. When products, packages, containers, speeds, or inspection settings change, review the evidence again. That discipline turns an X-ray image into a more reliable food-safety control.
References
- Glass Detection in Food Production: Preventing Contamination. (n.d.). https://www.tdipacksys.com/blog/glass-detection-in-food-production
- Glass in Food X-ray Inspection. (n.d.). https://www.mt.com/ca/en/home/products/Product-Inspection_1/safeline-x-ray-inspection/glass-in-food-inspection.html
- Glass in Food X-ray Inspection. (n.d.). https://www.mt.com/us/en/home/products/Product-Inspection_1/safeline-x-ray-inspection/glass-in-food-inspection.html
- X-ray Inspection for Comprehensive Glass-in-Glass Detection - Food Turkey. (n.d.). https://www.foodturkey.com.tr/2022/04/04/x-ray-inspection-for-comprehensive-glass-in-glass-detection
- Glass Container X-ray Inspection Systems. (n.d.). https://www.mt.com/us/en/home/products/Product-Inspection_1/safeline-x-ray-inspection/glasscontainer-x-ray-inspection.html
- X-Ray Inspection Systems – Food Safety & Contaminant Detection - Womag. (n.d.). https://www.womag.co.uk/collections/x-ray
- How do X-ray detectors work in food inspection systems? - Varex Imaging. (n.d.). https://www.vareximaging.com/blogs/how-do-x-ray-detectors-work-in-food-inspection-systems
- Food X-Ray inspection, food X-Ray inspection equipment|Foodman. (n.d.). https://www.foodmanvision.com/detecting-bones-glass-and-plastics-the-x-ray-inspection-technology